Bathroom Reno!
I want to preface this blog by saying this literally was such an easy, budget friendly job (thanks to Amazon) that I had SO much fun doing! John and I have lived in 3 houses in 2 years since we’ve been married, and although we had a blast renovating our last 2 homes in Georgia, we are looking forward to staying put for a while. When we officially bought our Jacksonville, Florida home back in mid summer, I immediately started making mood boards for each room and deciding on what renovations I wanted to get started on. The guest bathroom was something manageable I could do mostly by myself, so that’s what I did first!
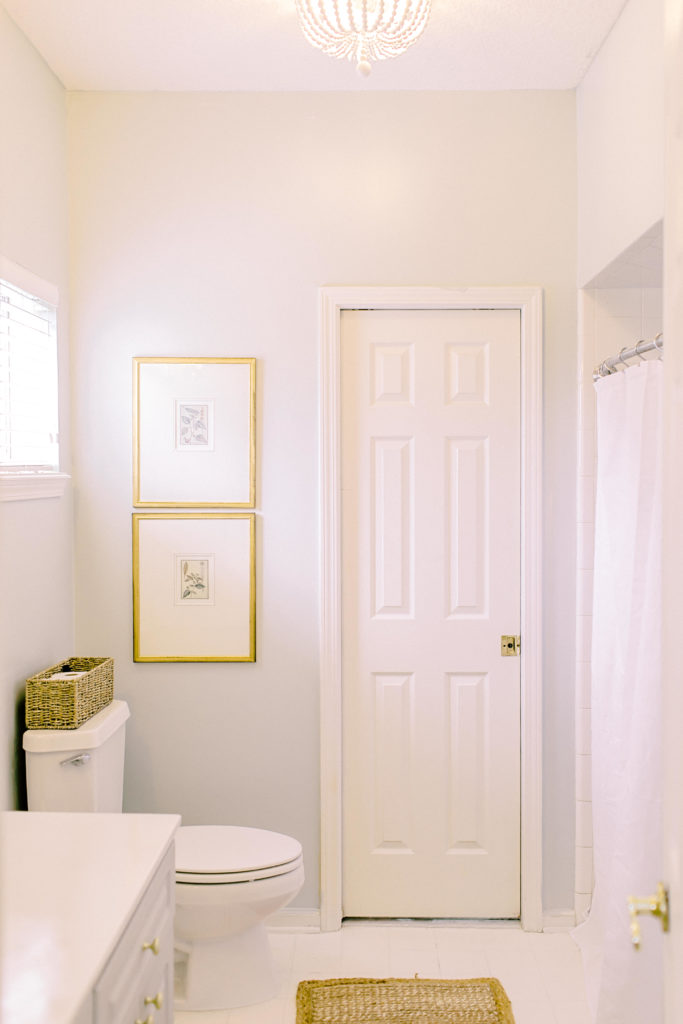
Take a look at our guest bathroom renovation before + after!
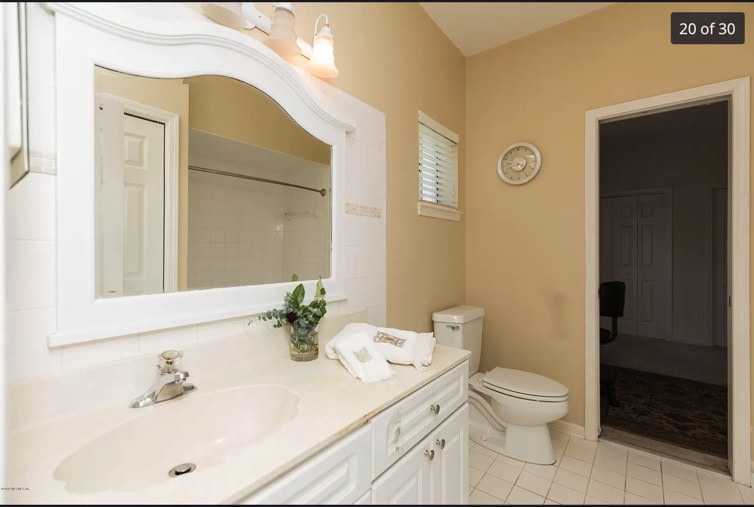
This was the guest bathroom situation prior to our elbow grease. Complete with tile on the walls, outdated vanity and lighting, less than ideal flooring, and just all around stuck in the 90’s.
I wasnt able to upload the photos from my phone of the before + during stage, but just take my word for it (or look on my instagram “Home” highlights) to see JUST how in shambles this room looked when I removed the tile from the wall. It was bad!
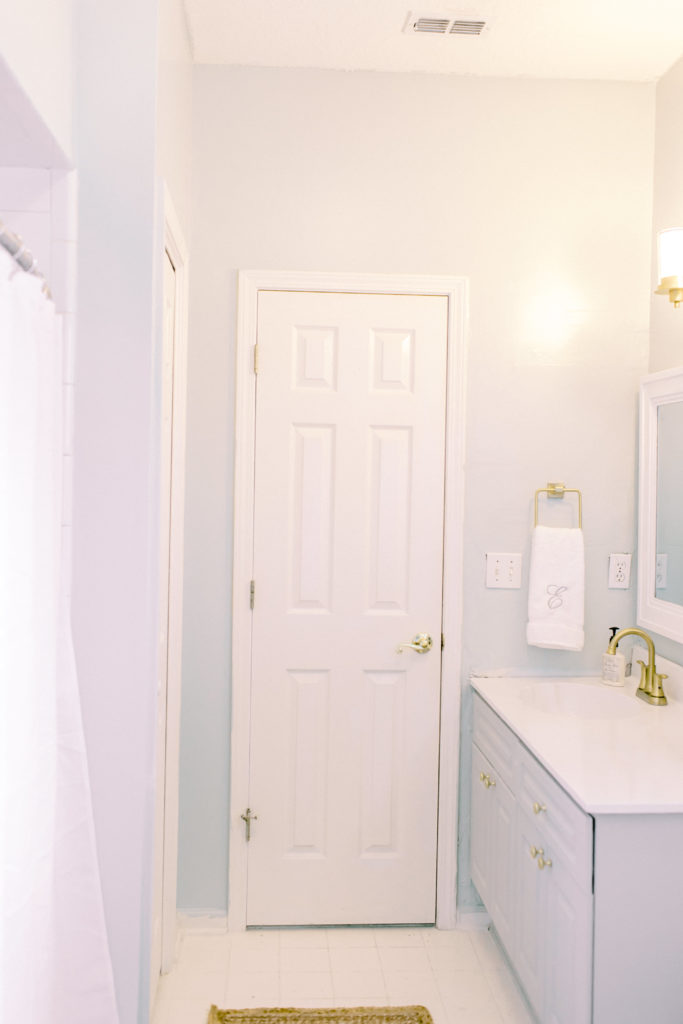
John had to go in and re-drywall behind the vanity, but gosh it completely changed the room. This is what she looks like now!
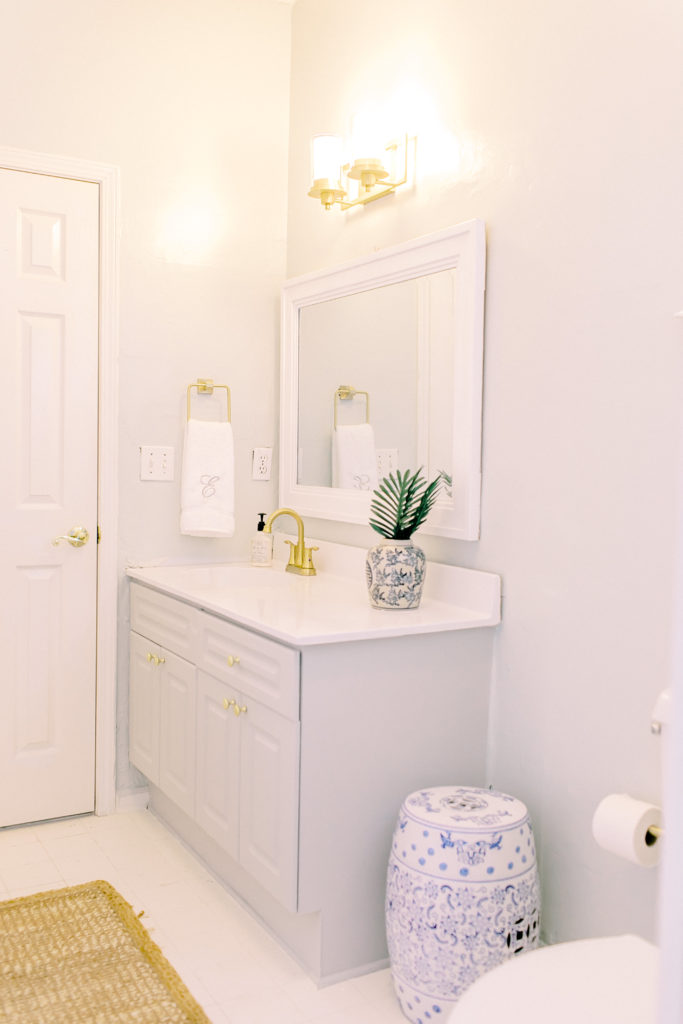
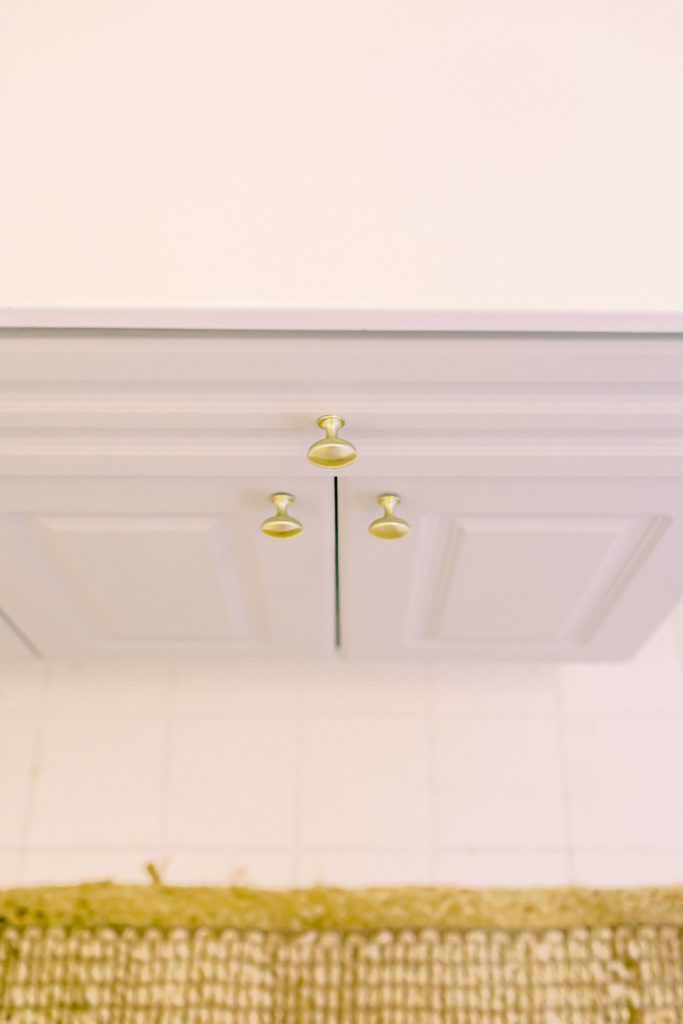
To save on some money, we decided to keep the vanity. I know, a SHELL SINK? But after a few coats of Rustoleum countertop spray paint, Sherwin Williams Light French Grey in flat on the cabinets, and new brushed gold hardware (links below for all of the products), this vanity looks completely different and honestly so stinkin’ cute. We couldn’t find a 48 inch vanity under $500 and we ended up redoing ours for around 40 bucks. That’s a win!
Jute Rug Runner for $60 (not the one pictured- ours come in next week hehe)
Brushed Gold Towel Holder
Monogrammed Towel Set under $20 – truly looks like a custom Etsy towel. And there’s two!
The hardest process of this renovation was the tile removal on the wall, but still was not too bad. I had though about re-doing the flooring with this peel + stick tile, but decided to save that for the laundry room.
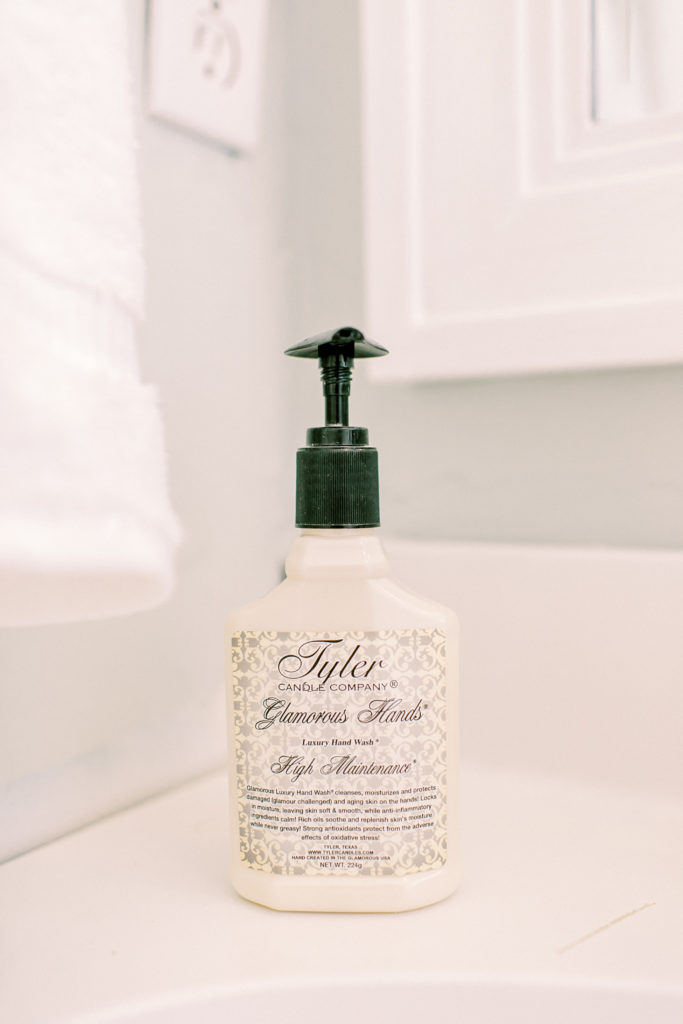
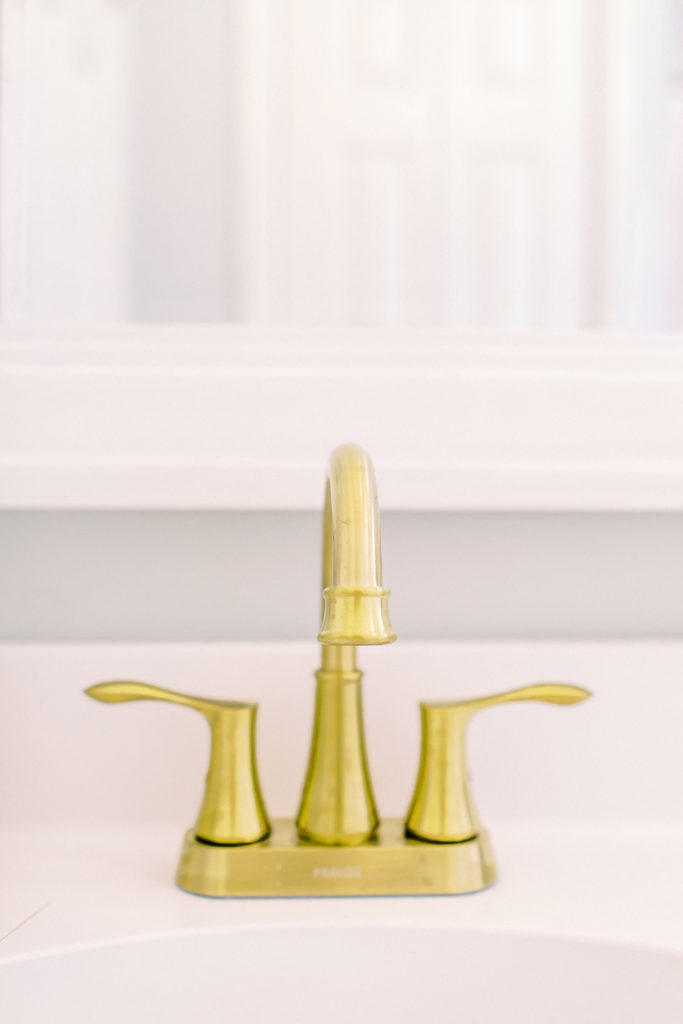
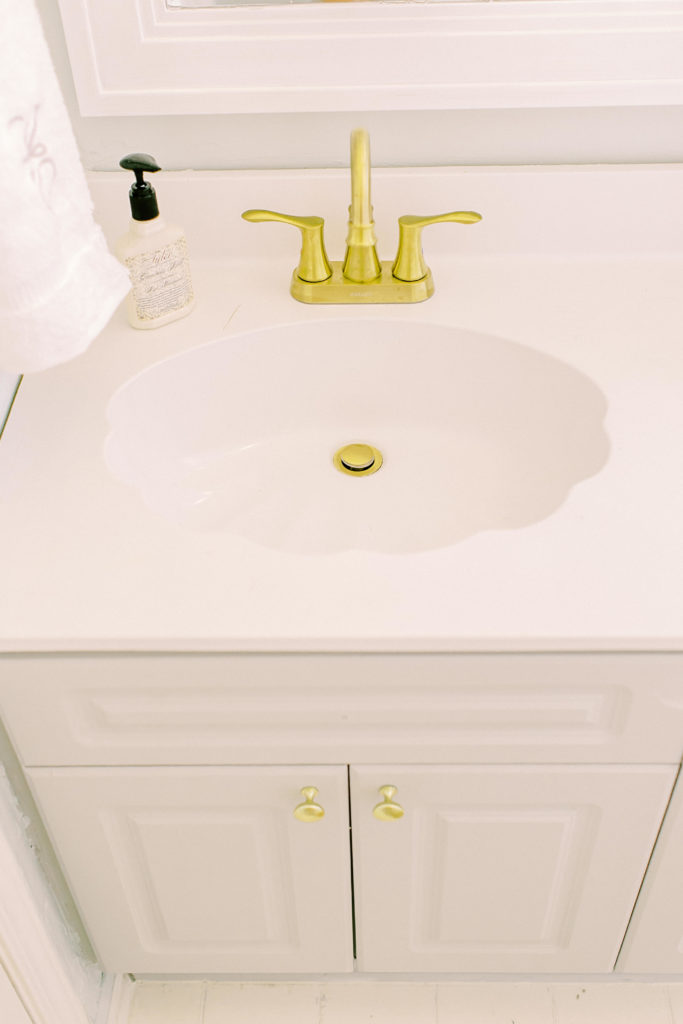
Brushed Gold Faucet
This was so easy to install! It has a click drain which took us a second to figure out 😉 It looks very expensive and was only $50.
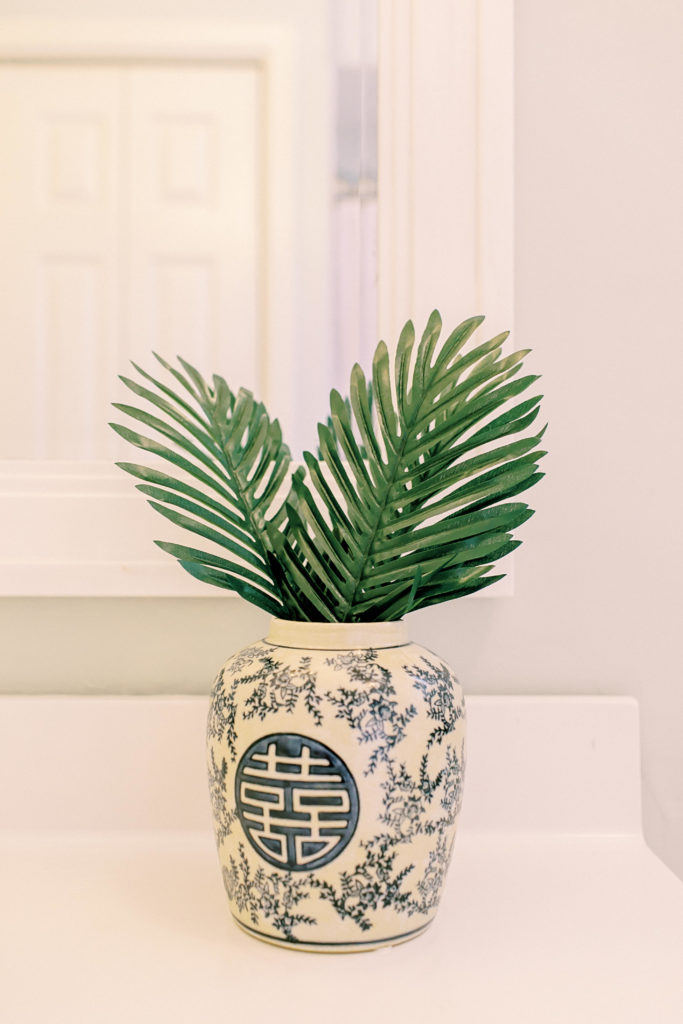
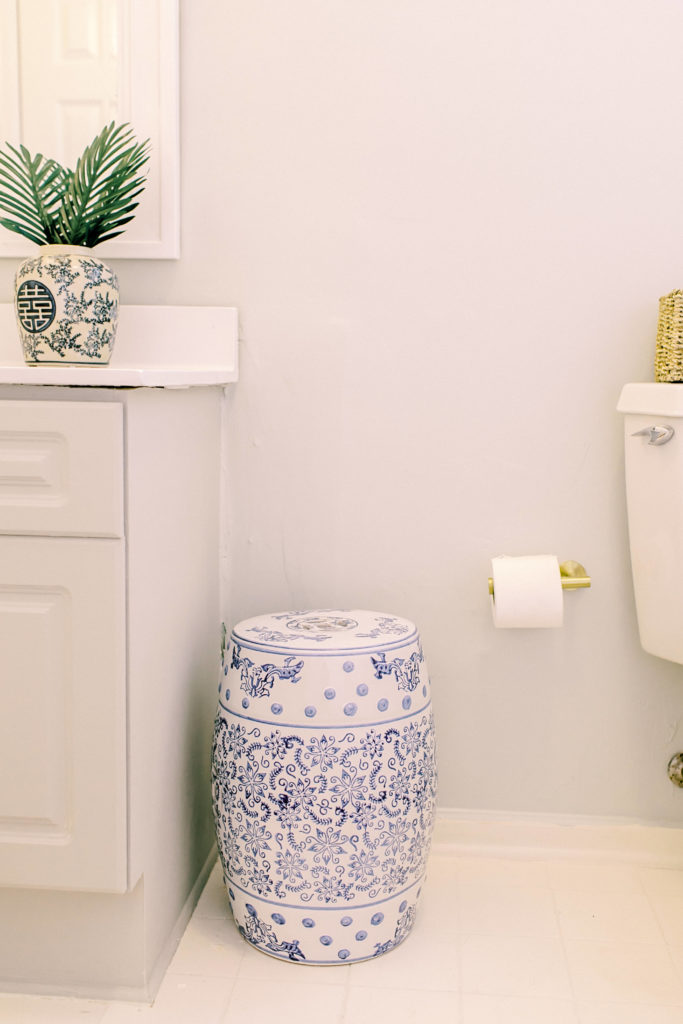
Similar Blue and White Jar
Palm Branches for $12
I watched this video on how to reface the countertops. I used Rustoleum Gloss Paint first, then Primer and Rustoleum Gloss Protective Enamel to seal. The video does a great job in explaining in detail how to do this! Make sure you sand well, remove sand particles with damp cloth, and spray paint evenly in 15 minute incriminates. I did primer twice, then enamel sealant twice.
Fun Fact: you can’t use bleach-based products to clean this countertop so beware of what you spray down your bathroom with if you plan on doing this! I use Thieves Essential Oil cleaner, but really anything that’s not harsh, like something vinegar based should work.
In a few years when we come back around to replace the vanity, I plan on doing a custom build in all of our bathrooms when we have a bit more wiggle room. There is something SO homey about custom cabinetry/countertops that are matched to your specific design style, which is why this is on our home renovation list. Click Countertops based out of Alpharetta, GA specializes in all things countertops and is a great option for anyone looking to update their space. I have my eye on Alpharetta Quartz Countertops for both our kitchen and bathroom renovation!

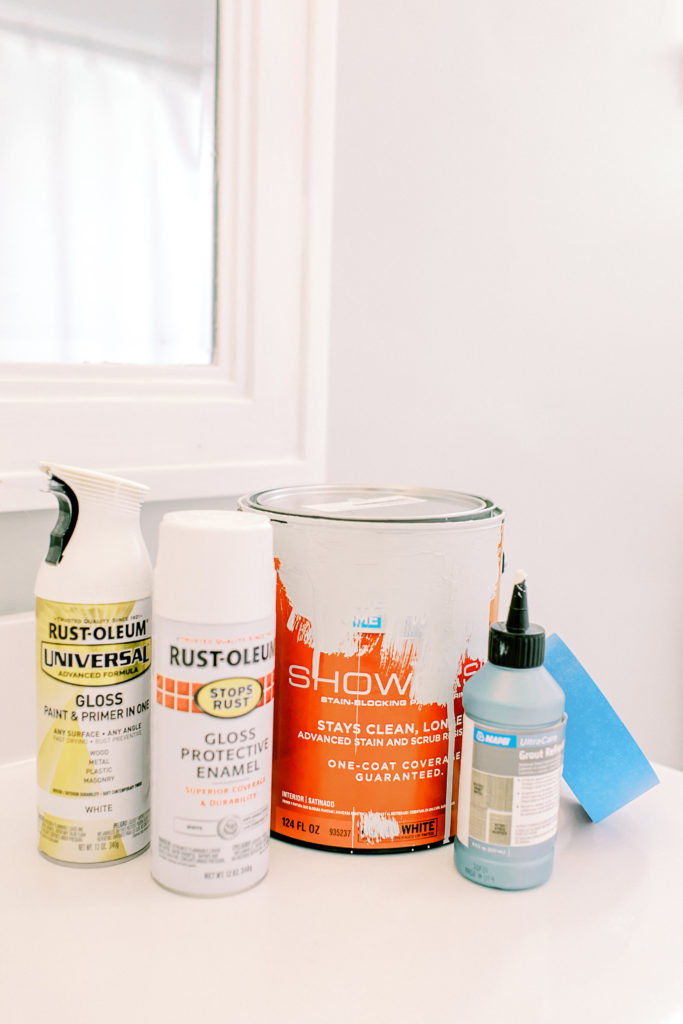
All of the products I used are listed below:
Walls: Sherwin Williams Sea Salt in Satin finish
Cabinets: Sherwin Williams Light French Grey in Flat finish
Rustoleum Gloss Paint + Primer
Rustoleum Gloss Protective Enamel
Similar Blue and White Garden Stool
Monogrammed Towel Set under $20
Not Pictured: the SOFTEST towels that feel thick like Tommy Bahama Towels. A set of 4 for $40.
Shop my Amazon storefront with LITERALLY all the things I’ve bought for my home/closet!
